
When it comes to easy desserts that deliver big on flavor, the No-Bake Cream Cheese Lemonade Pie stands out as a favorite. With its cool, creamy texture and bright, zesty flavor, this pie is perfect for warm weather, family gatherings, or whenever you need a refreshing treat without turning on the oven. Combining the tangy sweetness of lemonade with the richness of cream cheese, this dessert is a crowd-pleaser that’s incredibly simple to make. In this article, we’ll walk you through everything you need to know about making this delightful pie, step by step.
Introduction
- Introduction to No-Bake Pies
- Key Ingredients for No-Bake Cream Cheese Lemonade Pie
- Step-by-Step Recipe Instructions
- Tips for Success: Perfecting the Lemonade Pie
- Creative Variations on the Classic Recipe
- Serving Suggestions and Presentation Ideas
- Frequently Asked Questions (FAQs)
- Conclusion
Introduction to No-Bake Pies
No-bake desserts have long been a go-to for those who want something sweet and satisfying without the hassle of using the oven. Whether it’s a hot summer day or you’re simply short on time, no-bake pies are convenient and versatile. No-Bake Cream Cheese Lemonade Pie is one such dessert that checks all the boxes: easy, delicious, and perfect for almost any occasion.
Unlike traditional pies that require baking the crust and filling, this pie relies on chilling to set the ingredients. The result is a cool, creamy dessert with a tart lemon flavor that’s balanced by the richness of cream cheese. It’s light, refreshing, and always a hit at gatherings or family dinners.
Key Ingredients for No-Bake Cream Cheese Lemonade Pie
To make this pie, you’ll need only a few basic ingredients, many of which you probably already have in your pantry. Here’s a breakdown of what you’ll need:
For the Crust:
- Graham Cracker Crumbs: A classic base for no-bake pies, graham cracker crumbs give the crust a sweet, slightly crunchy texture.
- Unsalted Butter: Melted butter helps bind the graham cracker crumbs together and adds richness to the crust.
- Granulated Sugar: A little sugar adds sweetness and helps the crust firm up as it chills.
For the Filling:
- Cream Cheese: The star of the filling, cream cheese adds richness and a smooth texture to the pie.
- Sweetened Condensed Milk: This ingredient provides sweetness and helps create the perfect creamy consistency.
- Frozen Lemonade Concentrate: Thawed lemonade concentrate gives the pie its signature tart, citrusy flavor. The concentrate is essential because it delivers a strong lemon flavor without adding too much liquid.
- Whipped Topping: Whipped topping (like Cool Whip) makes the filling light and fluffy, adding a creamy finish.
Optional Toppings:
- Whipped Cream: For extra decadence, you can pipe or dollop whipped cream on top of the pie.
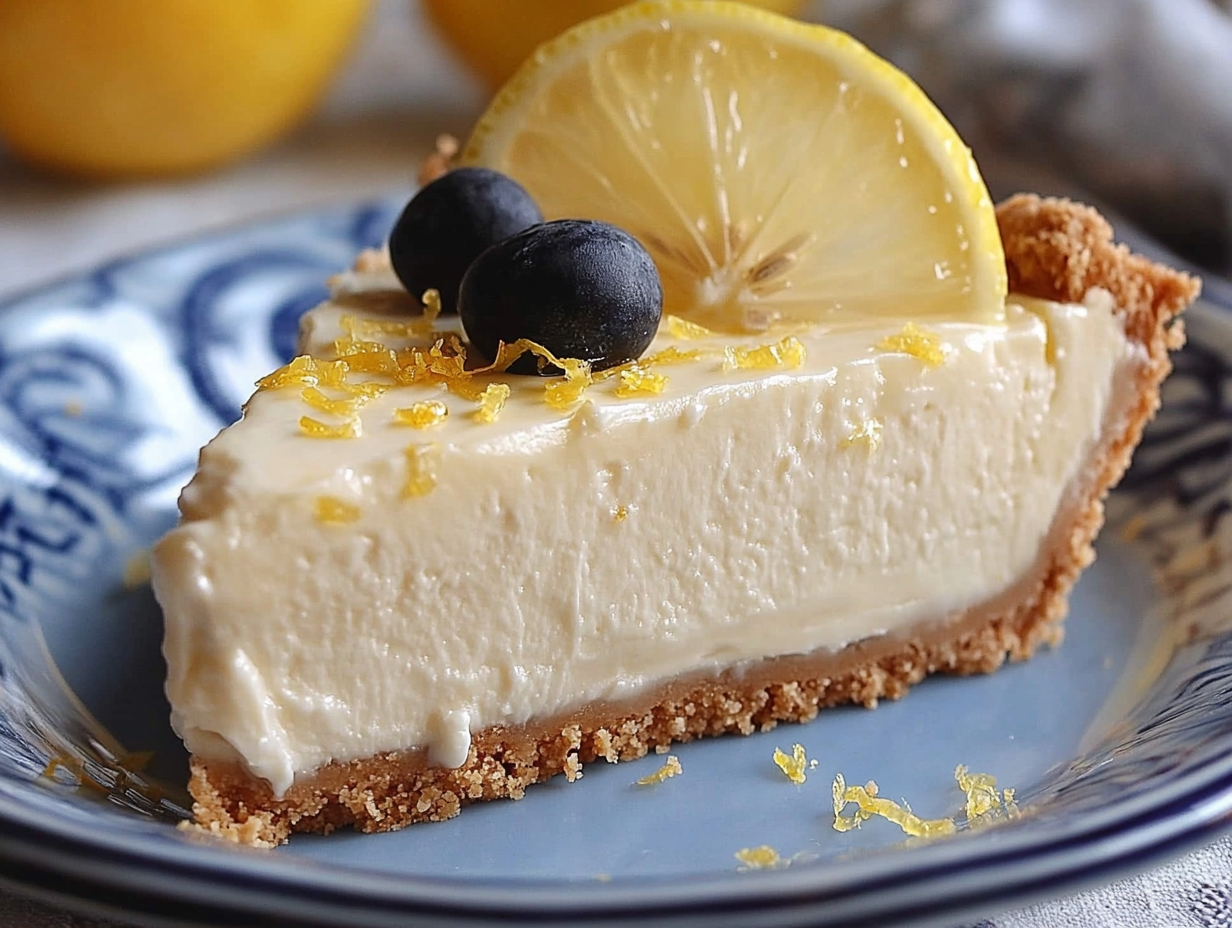
- Lemon Slices or Zest: These make for a beautiful, tangy garnish.
- Crushed Graham Crackers: Sprinkling extra graham cracker crumbs over the top adds texture and visual appeal.
Step-by-Step Recipe Instructions
Now that you have all your ingredients ready, let’s dive into the step-by-step process of making your No-Bake Cream Cheese Lemonade Pie.
Prepare the Graham Cracker Crust
- Combine Ingredients: In a medium-sized bowl, mix 1 ½ cups of graham cracker crumbs, ¼ cup of granulated sugar, and ½ cup of melted butter. Stir until the mixture resembles wet sand.
- Press Into Pie Pan: Press the graham cracker mixture evenly into the bottom and up the sides of a 9-inch pie pan. Make sure the crust is firmly packed to hold its shape.
- Chill the Crust: Place the crust in the refrigerator to chill and firm up while you prepare the filling.
Make the Lemonade Cream Cheese Filling
- Beat the Cream Cheese: In a large mixing bowl, use an electric mixer to beat the softened cream cheese until it’s smooth and creamy. This step is crucial for ensuring that there are no lumps in the filling.
- Add the Sweetened Condensed Milk: Gradually add a 14-ounce can of sweetened condensed milk to the cream cheese, beating on low speed until fully incorporated. The filling should be silky smooth.
- Mix in the Lemonade Concentrate: Slowly pour in ½ cup of thawed frozen lemonade concentrate and continue mixing. The lemonade concentrate will give the filling its tangy, lemony flavor.
- Fold in the Whipped Topping: Using a spatula, gently fold in 8 ounces of whipped topping (like Cool Whip) until the filling is light, airy, and well combined.
Assemble and Chill the Pie
- Pour the Filling Into the Crust: Once your filling is ready, pour it into the chilled graham cracker crust. Use a spatula to smooth the top, ensuring an even layer.
- Chill the Pie: Place the pie in the refrigerator to chill for at least 4 hours, or preferably overnight. This will allow the filling to set and firm up.
- Garnish Before Serving: Before serving, you can add optional garnishes such as whipped cream, lemon slices, or extra graham cracker crumbs for added flavor and decoration.
4. Tips for Success: Perfecting the Lemonade Pie
Making a No-Bake Cream Cheese Lemonade Pie is simple, but there are a few tips to ensure you get the best results every time:
- Soften the Cream Cheese: Be sure to let your cream cheese sit at room temperature for about 30 minutes before mixing. This will make it easier to blend and help avoid lumps in the filling.
- Chill the Crust: Give your graham cracker crust time to chill in the fridge for at least 30 minutes before adding the filling. This helps the butter in the crust solidify, making it more stable and less likely to crumble when sliced.
- Use Lemonade Concentrate: Do not substitute regular lemonade for the frozen concentrate. The concentrate delivers a bold lemon flavor that balances well with the sweetness of the pie.
- Give it Time to Set: For the best texture, let your pie chill for at least 4 hours, or overnight if possible. This ensures that the filling is fully set and firm enough to slice.
Creative Variations on the Classic Recipe
While the classic No-Bake Cream Cheese Lemonade Pie is delicious as is, there are many ways to switch up the recipe to suit your tastes:
1. Strawberry Lemonade Pie
- Substitute half of the lemonade concentrate with strawberry puree for a fruity twist. Top with fresh strawberries for extra flavor.
2. Key Lime Lemonade Pie
- Swap out the lemonade concentrate for key lime juice to create a tropical, tangy variation.
3. Mixed Berry Lemonade Pie
- Fold in a cup of fresh or frozen mixed berries (such as blueberries, raspberries, or blackberries) into the filling for a burst of berry flavor with every bite.
4. Lemonade Cheesecake Bars
- Instead of making a traditional pie, press the graham cracker crust into a square baking dish, pour in the filling, and refrigerate. Cut into bars for a portable, bite-sized dessert.
6. Serving Suggestions and Presentation Ideas
This pie is not only delicious but can be dressed up for a beautiful presentation. Here are some serving ideas to elevate your No-Bake Cream Cheese Lemonade Pie:
- Individual Mini Pies: Make individual servings by using a muffin tin to create mini pies. Simply press the crust into the muffin cups and fill with the lemonade cream cheese mixture.
- Layered Parfaits: For a fun twist, layer the pie filling and crust crumbs in small glasses to create lemonade pie parfaits.
- Toppings Bar: When serving a crowd, set up a toppings bar with options like whipped cream, lemon zest, fresh berries, and crushed graham crackers, allowing guests to customize their slices.
7. Frequently Asked Questions (FAQs)
Q1: Can I use homemade whipped cream instead of store-bought whipped topping?
Yes, you can! To make homemade whipped cream, beat 1 cup of heavy cream with 2 tablespoons of powdered sugar until soft peaks form. Then fold it into the cream cheese mixture.
Q2: Can I freeze the No-Bake Cream Cheese Lemonade Pie?
Yes, you can freeze this pie. Wrap it tightly in plastic wrap and freeze for up to 1 month. Let it thaw in the refrigerator before serving.
Q3: How long will the pie last in the refrigerator?
The pie will keep for up to 4 days in the fridge if covered tightly. Be sure to store it in an airtight container to keep it fresh.
Q4: Can I use a different crust besides graham crackers?
Certainly! Crushed vanilla wafers, digestive biscuits, or even Oreo cookies can be used as a crust.
Q5: Can I make this pie gluten-free?
Yes, simply use gluten-free graham crackers or cookies for the crust. All other ingredients should naturally be gluten-free.